How to crimp solar connectors?
Crimping solar panel connectors, requires careful preparation and the right tools. Here's a concise, organized guide:

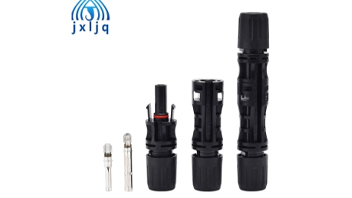
1. Gather Tools
MC4 Connectors ,MC4 Crimping Tool,Wire Strippers,Multimeter,Cable Cutter,Safety Glasses,Heat Gun (optional, for heat-shrink tubing).
2. Step-by-Step Guide
Cut the Cable: Ensure it’s the correct length for your setup.
Strip the Insulation: Strip ~10mm from the end using wire strippers. Avoid nicking the strands.
3. Insert Conductor
Slide the connector’s rubber seal onto the wire first.
Insert the stripped wire into the connector’s terminal until it stops. The wire should fit snugly.
4. Crimp the Connector
Align the connector in the crimping tool’s designated slot.
Squeeze the tool firmly until it clicks, ensuring a secure crimp. Check for any loose strands.
5. Seal the Connection
Apply silicone sealant around the wire-connector junction.
Slide the rubber seal over the crimped area to waterproof it.
6. Test the Connection
Use a multimeter to verify continuity between the wire and connector.
Check for any shorts or loose connections.
7. Final Check
Ensure the solar connector clicks securely into place when mating with its counterpart.
By following the Step by Step Guide, Insert Conductor, Crimp the Connector steps, you will create secure, weatherproof connections that are critical to efficient solar panel performance.